Inspection Procedure
Incoming Inspection Flow


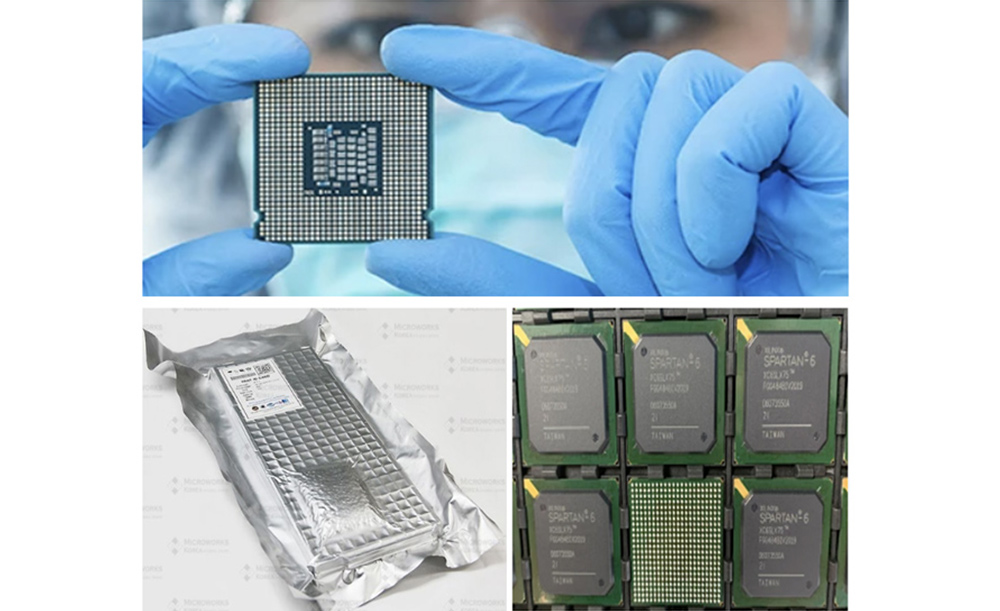
STEP 1 : Incoming Goods Inspection
1.Check if the goods were received from a dealership or manufacturer.
- For goods received from a dealership, inspect the item name, quantity, and packaging condition. If there are no issues, approve the goods.
2. For goods purchased from dealers, bulk products, or items with damaged packaging, conduct the following inspections.
- Visual inspection
- Item name and quantity verification
- Inspect the condition of boxes, reels, trays, and labels
- Packaging condition check
- Take and save photos (traceability purposes)

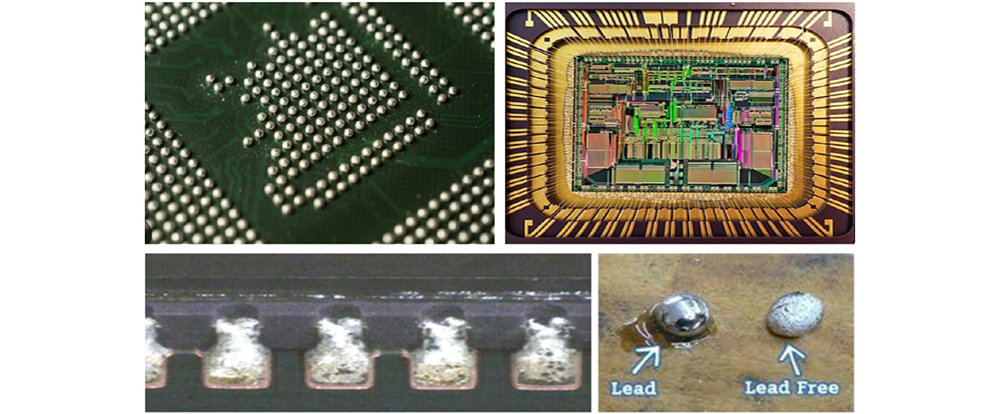
STEP 2 : Detailed Inspection for Non-Conformities
If any abnormalities are found during the Step 1 inspection, conduct the following detailed inspections:
- Microscopic Visual Inspection
- Physical Damage Assessment
- Pin/Ball Condition Check (cracks, breaks, or other physical damage)
- Marking Inspection(re-marking)
- Comparison with Reference (Compare the component with a genuine sample using existing inspection data and datasheets)

STEP 3 : Electron Microscope Inspection
If the abnormalities cannot be fully determined through the magnified visual inspection in Step 2, a high-magnification electron microscope will be used to conduct the following additional inspections:
- Microscope Test(verify if the component has been re-marked)
- Pin/Ball Condition Inspection(to identify any deformities such as dents, missing components, corrosion, or bends)

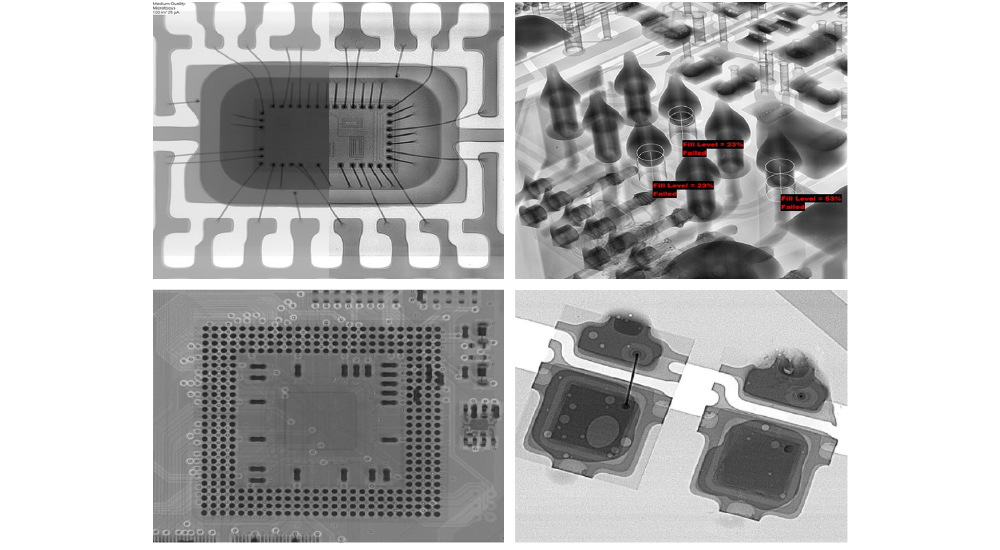
STEP 4 : X-ray Inspection
For high-value chips, products with a history of defects, or for critical components, an X-ray inspection may be conducted as needed.
- Counterfeit/Remanufactured Product Inspection (Inspect the internal wafer condition and wire bonding
- External Certification(If necessary, submit the component for inspection and certification to an external certified institution (e.g., Whitehorse, QRT))